Installation
1. Download the cartridge
Github - Tamara Salesforce plugin
2. Import the metadata
Compress the metadata folder to metadata.zip file.
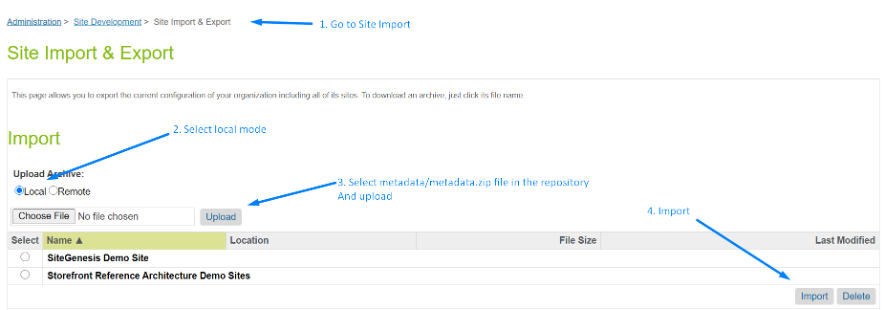
Click on Business Manager > Administration > Site Development > Site Import & Export.
Upload the metadata.zip file using Local option in the Upload Archive section.
After uploading, Select the metadata/metadata.zip option in the list > Click on Import.
3. Build the code
Go to the root of the Tamara cartridge source code folder and run the following command:
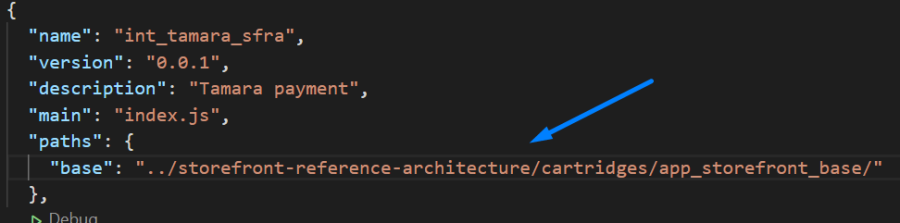
npm installGo to package.json > Look at the "paths.base" property > Change the "base" to the relative path of SFRA source folder > Run the following command:
npm run compile:jsUpload the cartridges int_tamara_core, int_tamara_sfra and bm_tamara to the SFCC environment.
4. Configure the cartridge
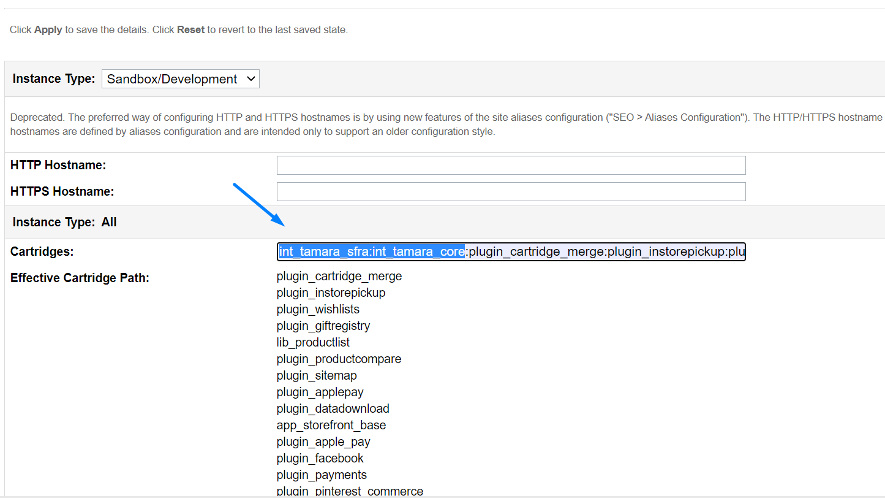
Click on Business Manager > Administration > Sites > Manage Sites > Your Target Site > Settings.
Add the cartridges int_tamara_core and int_tamara_sfra into the cartridge path of the target site, by adding this int_tamara_sfra:int_tamara_core in front of the current cartridge path.
Click on Business Manager > Administration > Sites > Manage Sites > Business Manager > Settings.
Add the cartridge bm_tamara into the cartridge path of the target site, by adding this bm_tamara:int_tamara_core:app_storefront_base:bm_app_storefront_base:modules in front of the current cartridge path.
Updated 4 months ago